Campaign Manager: Groupon Campaigns Made Faster
Groupon's self-service Campaign Manager tool makes it easy to create and manage your own deals and run a successful Groupon campaign.

When you want to get a promotion online, especially for a seasonal highlight, time is of the essence. Having the ability to create, design, and get approval for your campaign as quickly as possible can make all the difference. That’s why Groupon created the Campaign Manager.
In just a few easy steps, we’ll show you just how easy it is to join Groupon as a seller and get your promotion on its way to being approved in a matter of moments. Check out the step-by-step guide below to learn how to set up a Groupon campaign in Merchant Center.
1. Help Us Get to Know Your Business
To set up your account, first you’ll need to use the form below to tell us some basic information about yourself, your business, and the service you offer. After clicking ‘Sign Up’, you’ll be sent an email to confirm your merchant account.
2. It’s Time to Build Your Campaign
Now that we know about your business and the service you offer, let’s take a look at what you’re trying to achieve through a partnership with Groupon Merchant. Are you looking to acquire new customers, or increase your business’ online presence? Based on your type of business and the desired goal, we’ll suggest a few different campaign options that have worked for businesses like yours. We recommend setting up separate campaigns for each service you offer. With our campaign management tool, you can have up to 5 campaigns running at the same time. You’ll see displays of our best practices and what your offer could look like.
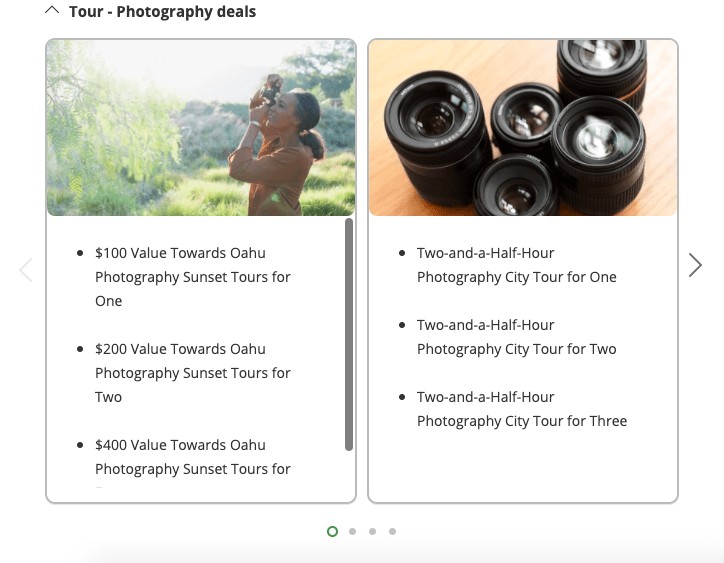
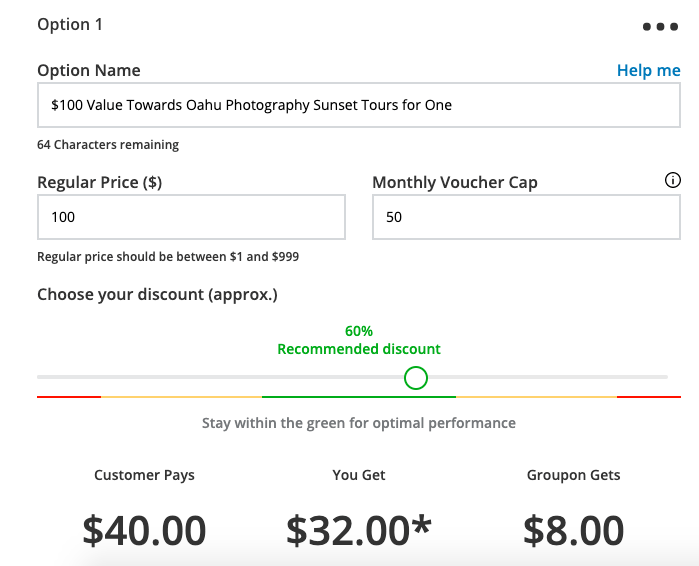
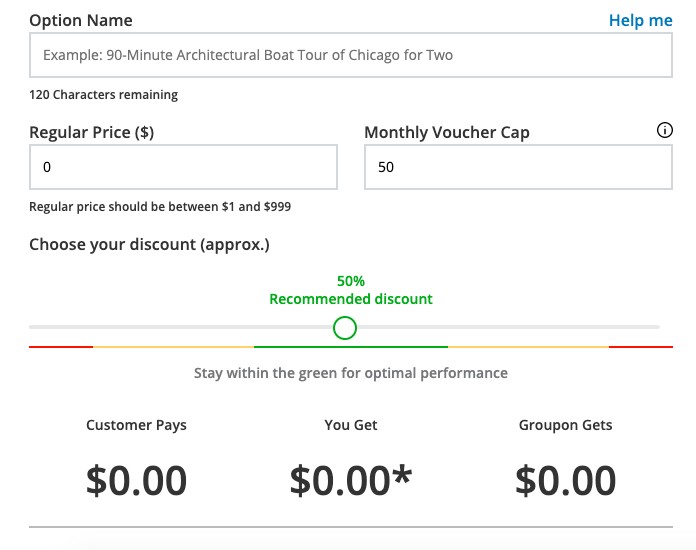
Once you’ve chosen a campaign structure, you’ll need to set the price and number of vouchers you want to offer. When choosing your discount you will transparently receive information on how much the customer pays, how much you get, and what Groupon gets. There is also a bar indicating the expected performance of your campaign. Stay within the green for optimal performance. In this step, you can also set up multiple campaign options at once to cover a broader audience.
If you don’t like any of our campaign structure suggestions, you can always create your own campaign from scratch.
3. Make Your Campaign Image Match Your Style
No matter which option you choose, you’ll have the ability to customize your campaign by selecting a high-quality image that you think best represents your campaign.
4. Adding the Details
Now it’s time to create the information that will appear to customers on your campaign page. This includes details about the services included in your campaign to manage customer expectations, highlights of the campaign you’d like to stress, and facts about your business itself. Great unique content in these sections has proven critical to how well a campaign performs. We’ve added a help section to aid you in creating this content.
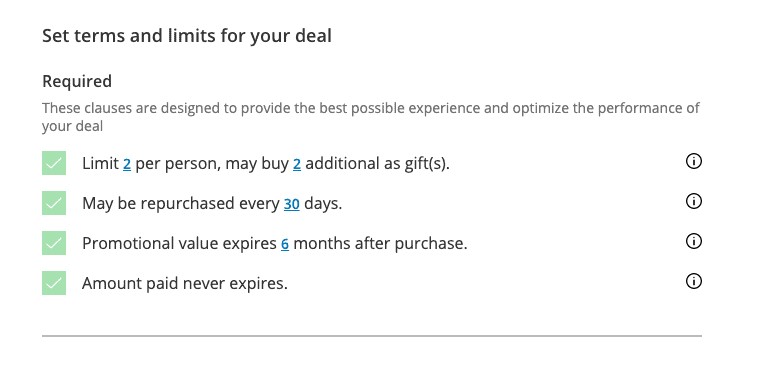
Once your campaign looks and reads the way you like, it’s time to start with the fine print. In this section, you’ll dictate the terms and limits for your campaign. These should be designed to provide the best possible experience and optimize the performance of your campaign. For example, you may include a “Limit 2 per person, may buy 2 additional as gift(s)” restriction.
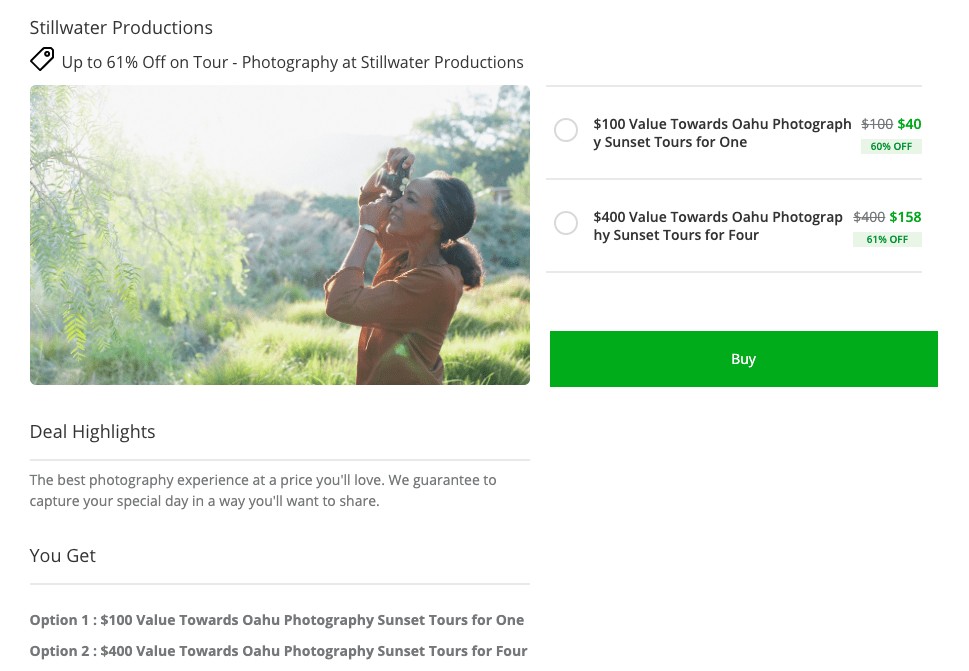
With the campaign preview feature, you can see what your campaign will look like when it goes online. You can use this feature at any time to see how the information you’ve added is displayed.
Now that you’ve added the fine print, it’s time to decide on the duration of your campaign. You’ll be able to select the launch date when your Groupon promotion will be available. Keep in mind, it will take a few days for your campaign to be approved so you will need to factor in this time when selecting the start date for your promotion.
5. Bank Details and Signing Your Contract
The final step in creating your campaign and becoming a Groupon merchant is to submit your business bank account and tax information. This information is used for Groupon to transfer money into your account when vouchers are redeemed. If you don’t have this information readily available when you’re creating your campaign, you can skip this step and you’ll receive an email asking you to provide the missing details. If you do not provide this in a timely manner, it may result in your campaign being rejected. Now all that’s left is to accept the terms and conditions and click Submit.
Congratulations!
You’ve successfully submitted your new Groupon campaign. We’ll review it and notify you when it’s been approved. You can track the status of your campaign on the “Campaigns” page. With the Groupon Merchant tools, you can see an overview of all your campaigns and their status as well as information on whether any action is required.
Need to Edit Your Campaign?
So now you’ve set up a campaign — but what if you’d like to update it with changes? With the Campaign Manager, you can edit your campaign directly in Merchant Center and have your edits go live within days.
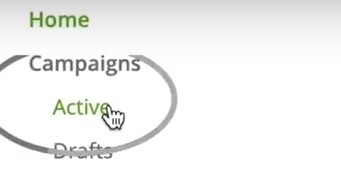
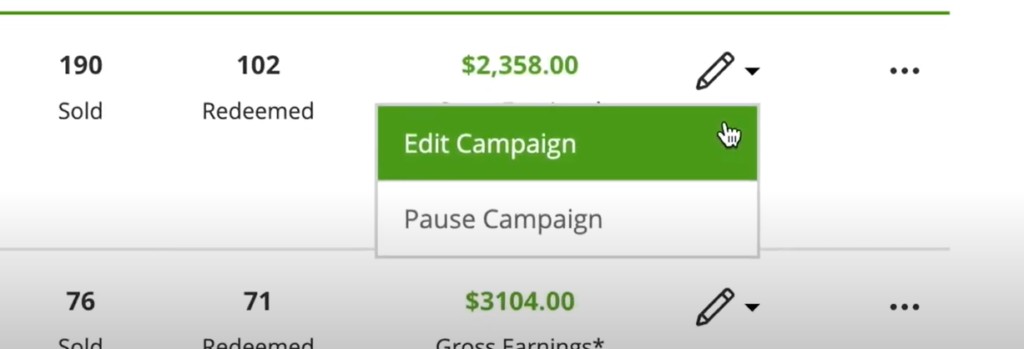
After logging into Merchant Center, click on “Active” in the Campaigns tab on the left-hand side of the screen. This will take you to a list of your active campaigns. To make updates, click on the pencil icon on the right end of the campaign you want to edit. A dropdown menu will appear where you can choose to either edit or pause your campaign. Select “Edit Campaign” to open the editor view.
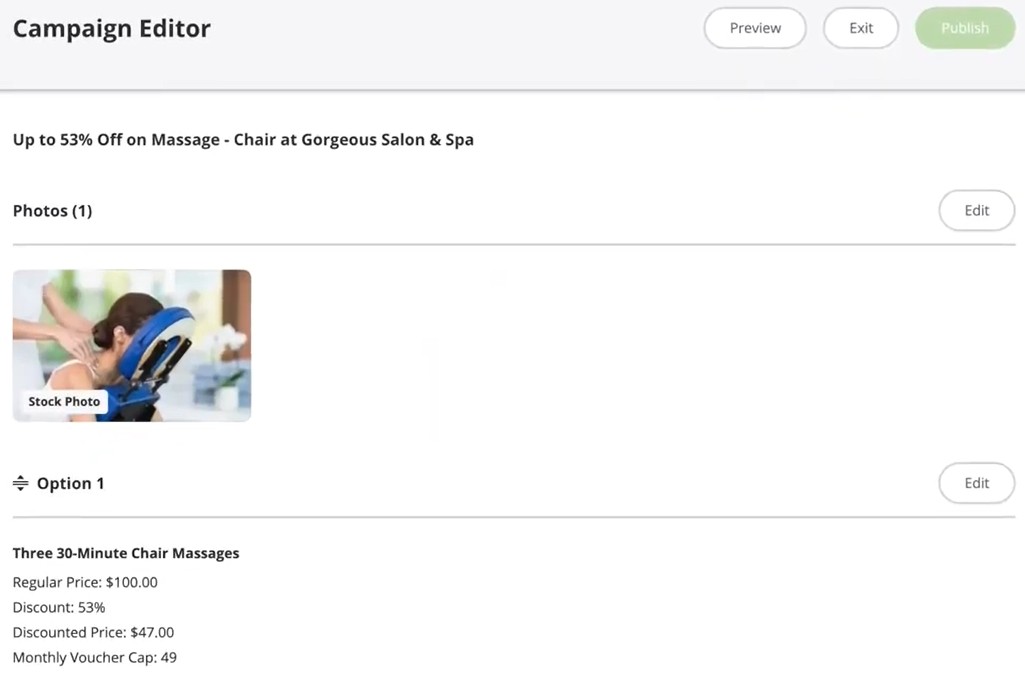
From here, you can click into and edit any element of your campaign. You can choose new photos from our stock library or upload your own, add or edit copy in the descriptions, and add or edit deal options. After updating each element, click “Done” at the top, and repeat the process for any other element you want to update. You may also click “Preview” at any point to see how your updated campaign will look to customers, then click “X” in the top right to return to the editor.
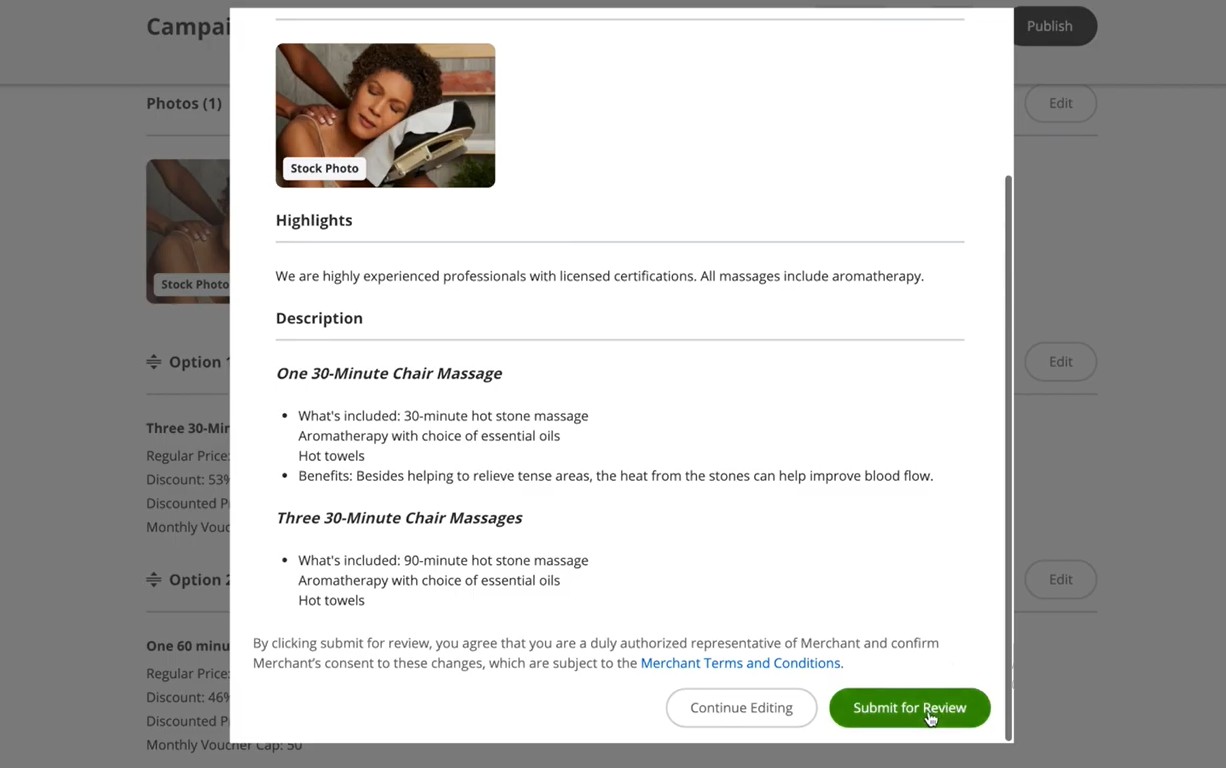
Once you’ve finished editing and previewing your campaign, click “Publish”. You’ll have a chance to review your changes one last time before you click “Submit for Review”. Once you’ve done this, your changes will be listed as “Pending Review” in Merchant Center. You’ll receive approval via email within 1 business day, and can also check the status of your submissions at any point in the History tab.
Still have questions about joining Groupon? See our complete guide on How to Sell on Groupon.
Ready to join the 1 million+ merchants who've worked with Groupon?
Related Reads
